Smart Arduino AC Plug
Sunday, September 20, 2015


Here I made a smart AC plug using an arduino pro mini .We can on and off any AC device using this smart ac plug via android mobile. We can control it through our voice and by tapping on the screen by connecting the mobile to the ac plug through bluetooth. It's main advantage is it is not need to put inside the switch board it only need to plug in to switch board socket and connect devices like table fan, table lamp etc... This circuit can also use inside the switch board.
Watch it's video
Let's start make this --
Parts needed -

 |


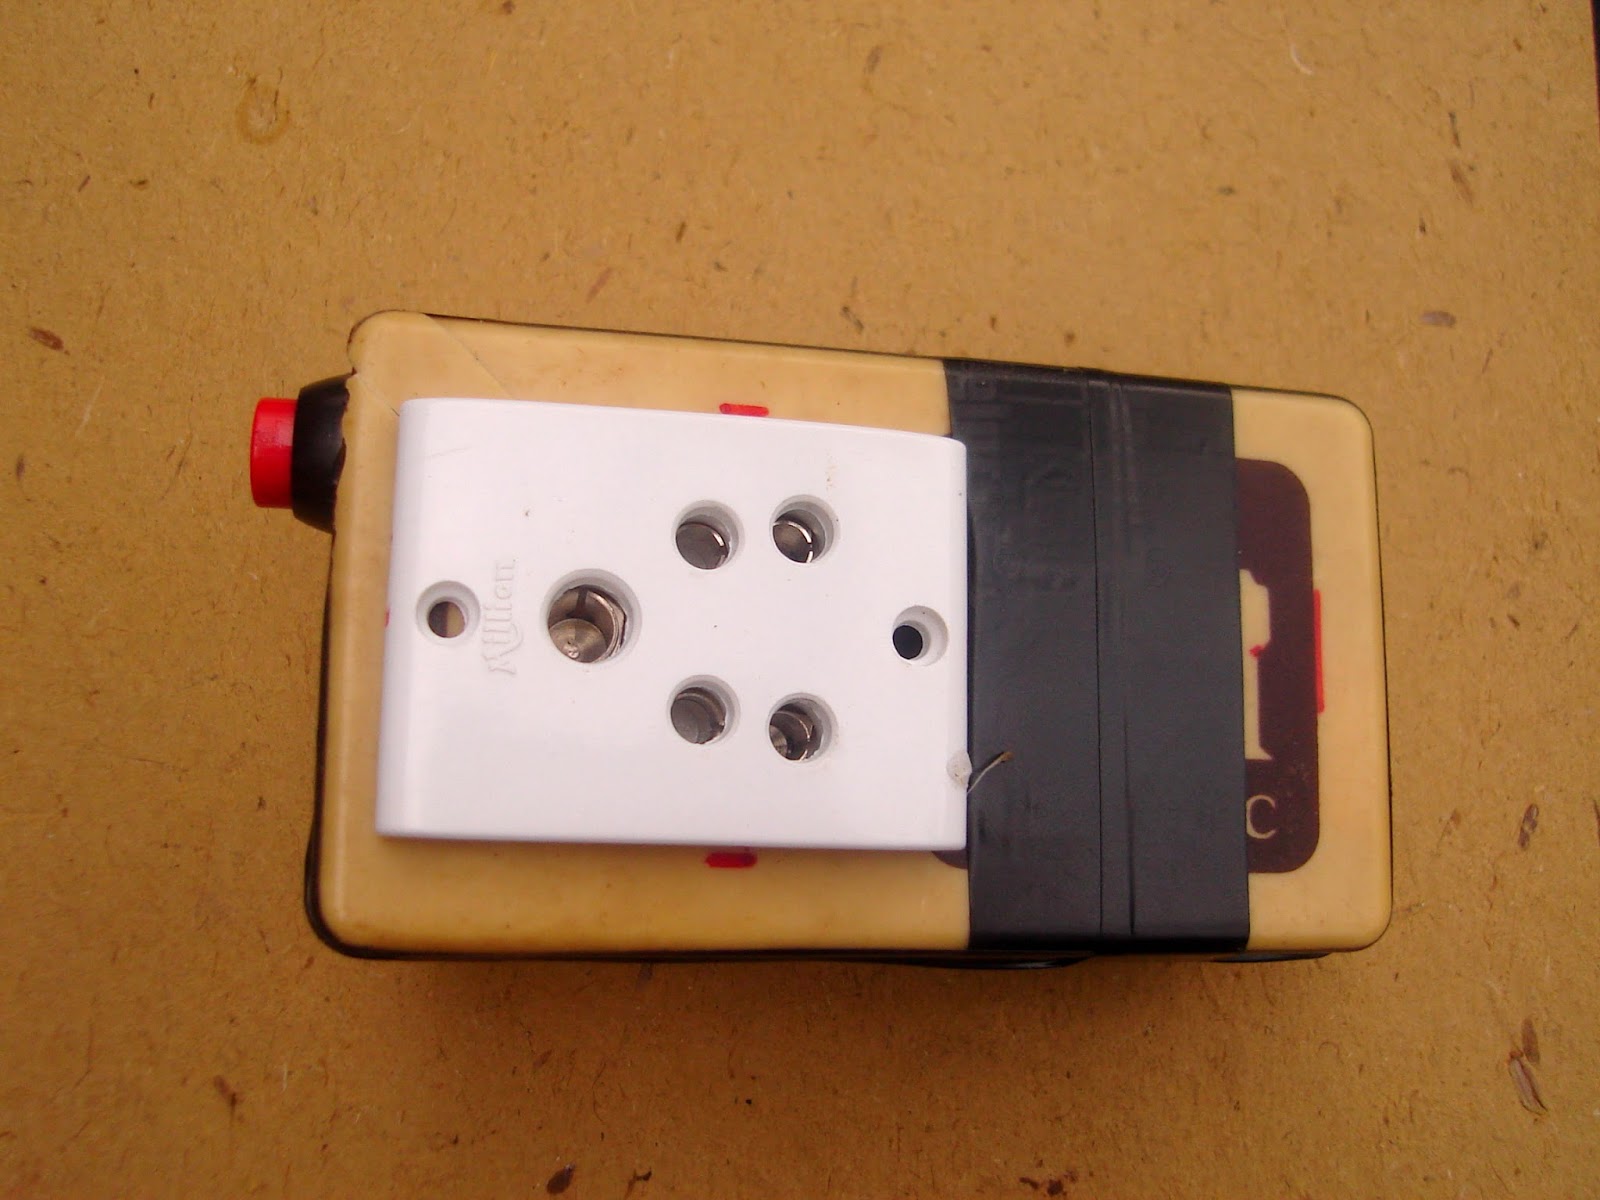
- A small plastic box
- AC input and output plug
- Relay *1
- BC 548 *1
- 100R resistor *1
- Arduino pro mini
- Bluetooth module(hc-05,hc-06)
- 9volt Battery or 5volt ac to dc converter
Circuit diagrem -


Start making-
|
| cut the box and connect female socket |
|
| make hole on the other side and connect male socket |
 |
| Make the relay shield (circuit diagram seen above) |
 |
| Make the arduino shield (solder arduino to dot board) |
 |
| Connect bluetooth module to the sheild |
 |
| Connect the relay shield |

 |
| Connect battery or ac to dc adapter regulator to the arduino pro mini |
 |
| Connect a 5volt regulator for the arduino pro mini |
 |
| Put them all in to a box |
 |
| Take the ac female pin part of the box |
 |
| Connect the male socket to the female socket(shown in the circuit diagram) |
 |
| Connect the relay switch out put wire between the phase line (shown in the circuit diagram) |

 |
| Program the arduino (code is given below) |
 |
| Test the circuit |
 |
| Connect a switch if you are using an Battery |
 |
| Add the battery to the circuit |
 |
| Solder the switch |
 |
| Put all together and close the box |

Arduino code -
char val; // variable to receive data from the serial port
int relay = 7; // LED connected to pin 8 (on-board LED)
int ledpin = 13; // LED connected to pin 213 (on-board LED)
void setup()
{
pinMode(relay = 7, OUTPUT); // pin 8 (on-board LED) as OUTPUT
pinMode(ledpin = 13, OUTPUT); // pin 13 (on-board LED) as OUTPUT
Serial.begin(9600); // start serial communication at 115200bps
}
void loop()
{
if( Serial.available() ) // if data is available to read
{
;
}
val = Serial.read(); // read it and store it in 'val'
if( val == 'A' ) // if 'A' was received led 2 is switched off
{
digitalWrite(relay = 8, HIGH); // turn Off pin 2
digitalWrite(ledpin = 13, HIGH); // turn Off pin 2
}
if( val == 'a' ) // if 'a' was received led 2 on
{
digitalWrite(relay = 8, LOW); // turn ON pin 2
digitalWrite(ledpin = 13, LOW); // turn ON pin 2
}
}


3 comments
Thanks, Good work
ReplyDeleteThanks, Good work
ReplyDeletenice work
ReplyDeleteClick on 'Notify me' to get replies of your comment.