


Watch the video
 |
| The device and plant setup |
 |
 |
| Light sensor and Soil moister sensor |
What about growing your any plants from anywhere around the world without your actual presence? Yes it is possible by this project called 'IoT Plant'.
You can water you plant through different modes available in the android application and you will get the real time reading of moister, temperature and light that is available for the plant on your smartphone. And also you will get an email when your plant require water, manure etc..
Let's read more about it -
You can water you plant through different modes available in the android application and you will get the real time reading of moister, temperature and light that is available for the plant on your smartphone. And also you will get an email when your plant require water, manure etc..
Let's read more about it -
What is IoT (internet of things)? - simple definition
Internet of thing is the ecosystem of connected physical devices that are accessible through the internet.
This project was made using the micro controller called arduino. - It is cheap opensource board which can be used for different applications by programming using C++ language through the arduino IDE software. And an IoT board called EP8266 which revolutionized the Internet of things. For a mere dollar you can add a whole world wireless capability to your projects. That is the reason why we are choose ESP8266 for making this project. Features of IoT Plant
- Cheap price (~4000rs)
- You can monitor the real time requirement of the plant.
- Different modes of water supply for different types of plants
What you can monitor?
- The humidity of the soil.
- Light available to the plant leafs and temperature of the atmosphere.
Different modes of water supply
- Manual mode - You can manually supply the water.
- Timer mode - Can be used to supply water in regular interval of time or at a particular time every day.
- Automatic mode - Automatically supply water as per the requirement of the plant. Suitable for the plants which always need water.(eg: Paddy cultivation)
Technical details
 |
It is used some sensors such as soil moister sensor, temperature sensor and light sensor to monitor the real time environment of the plant. Also a water pump and relay to pump the water to the plant.
For this project I am used an IoT application called 'Blynk'. Through this application we are controlling the water pump and see the environment or the water requirement of the plant through different types of graphs.
 |
| IOT application - 'Blynk' |
Parts used
 |
| Electronic parts |
 |
| Mechanical parts |
- Arduino nano
- ESP8266
- ESP8266 programmer
- LCD display
- Relay module
- Plastic box (17 x 11 cm wide)
- Ac to DC 12 volt 2 AH regulator.
- Water pump
- Switch
Circuit diagram

Arduino code (C++ language)
This is the program uploaded to arduino board
 const int mPin = A1;
 const int lPin = A2;
 const int tPin = A3;

 int mValue = 0;
 int lValue = 0;
 int tValue = 0;

 int moist = 0;
 int light = 0;
 int temp = 0;

 //--
 byte datas1 = 0;
 byte datas2 = 0;
 byte datas3 = 0;
 //--

 const int motor_in = 2;
 const int auto_in = 4;
 const int motor_out = 7;
 int mstate = 0;
 int astate = 0;

 //-------LCD--------
 #include <Wire.h>
 #include <LCD.h>
 #include <LiquidCrystal_I2C.h>
 #define I2C_ADDR  0x3F // <<----- Add your address here. Find it from I2C Scanner
 #define BACKLIGHT_PIN 3
 #define En_pin 2
 #define Rw_pin 1
 #define Rs_pin 0
 #define D4_pin 4
 #define D5_pin 5
 #define D6_pin 6
 #define D7_pin 7
 LiquidCrystal_I2C lcd(I2C_ADDR,En_pin,Rw_pin,Rs_pin,D4_pin,D5_pin,D6_pin,D7_pin);
 //-------LCD--------


 void setup() {

  Serial.begin(115200);

  //-------LCD--------
  lcd.begin (16,2); // <<----- My LCD was 16x2
  // Switch on the backlight
  lcd.setBacklightPin(BACKLIGHT_PIN,POSITIVE);
  lcd.setBacklight(HIGH);
  lcd.home (); // go home
  lcd.print("** IOT PLANT **");
  delay(1000);
  //-------LCD--------

  pinMode(motor_in, INPUT);
  pinMode(auto_in, INPUT);
  pinMode(motor_out, OUTPUT);
 }

 void loop() {

  // read the analog in value:
  mValue = analogRead(mPin);
  lValue = analogRead(lPin);
  tValue = analogRead(tPin);

  moist = map(mValue, 300, 1023, 100, 0);
  light = map(lValue, 0, 1023, 100, 0);
  temp = (5.0 * tValue * 100.0) / 1024;

  mstate = digitalRead(motor_in);
  astate = digitalRead(auto_in);

 //---------- manuel mode ----
  if (mstate == HIGH && astate == LOW)
  {
   digitalWrite(motor_out, HIGH);

   lcd.clear();//***************
   lcd.setCursor (0,0);    // go to start of 1nd line
   lcd.print("Water is pumping");

   lcd.setCursor (0,1);    // go to start of 2nd line
   lcd.print("Moisture:");
   lcd.setCursor (9,1);
   lcd.print(moist);
   lcd.setCursor (11,1);
   lcd.print("%");
   delay(1000);
  }
 //---------- automatic mode ----
  else if (mstate == LOW && astate == HIGH)
  {
   if (moist < 25)
   {
   digitalWrite(motor_out, HIGH);
   lcd.clear();//***************
   lcd.setCursor (0,0);    // go to start of 1nd line
   lcd.print("Water is pumping");
   lcd.setCursor (0,1);    // go to start of 2nd line
   lcd.print("Moisture:");
   lcd.setCursor (9,1);
   lcd.print(moist);
   lcd.setCursor (11,1);
   lcd.print("%");
   delay(1000);
   }
   else
   {
    digitalWrite(motor_out, LOW);
    lcd.clear();//***************
    lcd.setCursor (0,0);    // go to start of 1nd line
    lcd.print("Water is excess");
    lcd.setCursor (0,1);    // go to start of 1nd line
    lcd.print("motor turned off");
    delay(1000);
   }

  }
  else
  {
   digitalWrite(motor_out, LOW);
     //-------------------------------------------
   lcd.clear();//*******

   lcd.setCursor (0,0);    // go to start of 1nd line
   lcd.print("Moisture:");
   lcd.setCursor (9,0);
   lcd.print(moist);
   lcd.setCursor (11,0);
   lcd.print("%");

   lcd.setCursor (0,1);    // go to start of 2nd line
   lcd.print("Temperature:");
   lcd.setCursor (12,1);
   lcd.print(temp);
   lcd.setCursor (15,1);
   lcd.print("C");

   delay(1000);

   lcd.clear();//***************

   lcd.setCursor (0,0);    // go to start of 1nd line
   lcd.print("Moisture:");
   lcd.setCursor (9,0);
   lcd.print(moist);
   lcd.setCursor (11,0);
   lcd.print("%");

   lcd.setCursor (0,1);    // go to start of 2nd line
   lcd.print("Light:");
   lcd.setCursor (6,1);
   lcd.print(light);
   lcd.setCursor (8,1);
   lcd.print("%");

   delay(1000);
   //------------------------------------------------
  }
 //----------

   datas1 = moist & 0xFF;
   Serial.write(0x8);
   Serial.write(datas1);
   datas2 = light & 0xFF;
   Serial.write(0x7);
   Serial.write(datas2);
   datas3 = temp & 0xFF;
   Serial.write(0x6);
   Serial.write(datas3);
   delay(5);
 }
ESP8266 code (C++ language)
This is the program uploaded to ESP8266 board.
 #include <ESP8266WiFi.h>
 #include <BlynkSimpleEsp8266.h>

 byte ID = 0;
 int data = 0;

 // You should get Auth Token in the Blynk App.
 // Go to the Project Settings (nut icon).
 char auth[] = "49f8b849e38141d48366b93170b7a529";

 // Your WiFi credentials.
 // Set password to "" for open networks.
 char ssid[] = "iotplant";
 char pass[] = "12345678";

 #define moistpin V1
 #define lightpin V5
 #define temppin V2

 BlynkTimer timer;


 BLYNK_CONNECTED() {

  Blynk.syncAll();
 }


 void myTimerEvent()
 {
  if(Serial.available()>0)
  {
   ID = Serial.read();
   data = Serial.read();

   if(ID == 0x6)
   {
    Blynk.virtualWrite(moistpin, data);

     if (data<25)
     {
      Blynk.email("Subject:* IOT PLANT *", "Plant need water");
      Blynk.notify("YOUR PLANT IS THURSTY!");
     }
   }

   if(ID == 0x7)
   {
    Blynk.virtualWrite(lightpin, data);
   }

   if(ID == 0x8)
   {

    Blynk.virtualWrite(temppin, data);
   }

   }
   else
   {
    Blynk.virtualWrite(V1, 0);
    Blynk.virtualWrite(V5, 0);
    Blynk.virtualWrite(V2, 0);
   }
  }

 void setup()
 {
  Serial.begin(115200);
  Blynk.begin(auth, ssid, pass);
  timer.setInterval(1000L, myTimerEvent);
 }

 void loop()
 {
  Blynk.run();
  timer.run(); // Initiates BlynkTimer
 }
Future plans/updates
- Adding a camera to monitor the growth of the plant
- Adding a sensor to monitor the nitrogen content in the soil, to supply the manure for the plant.
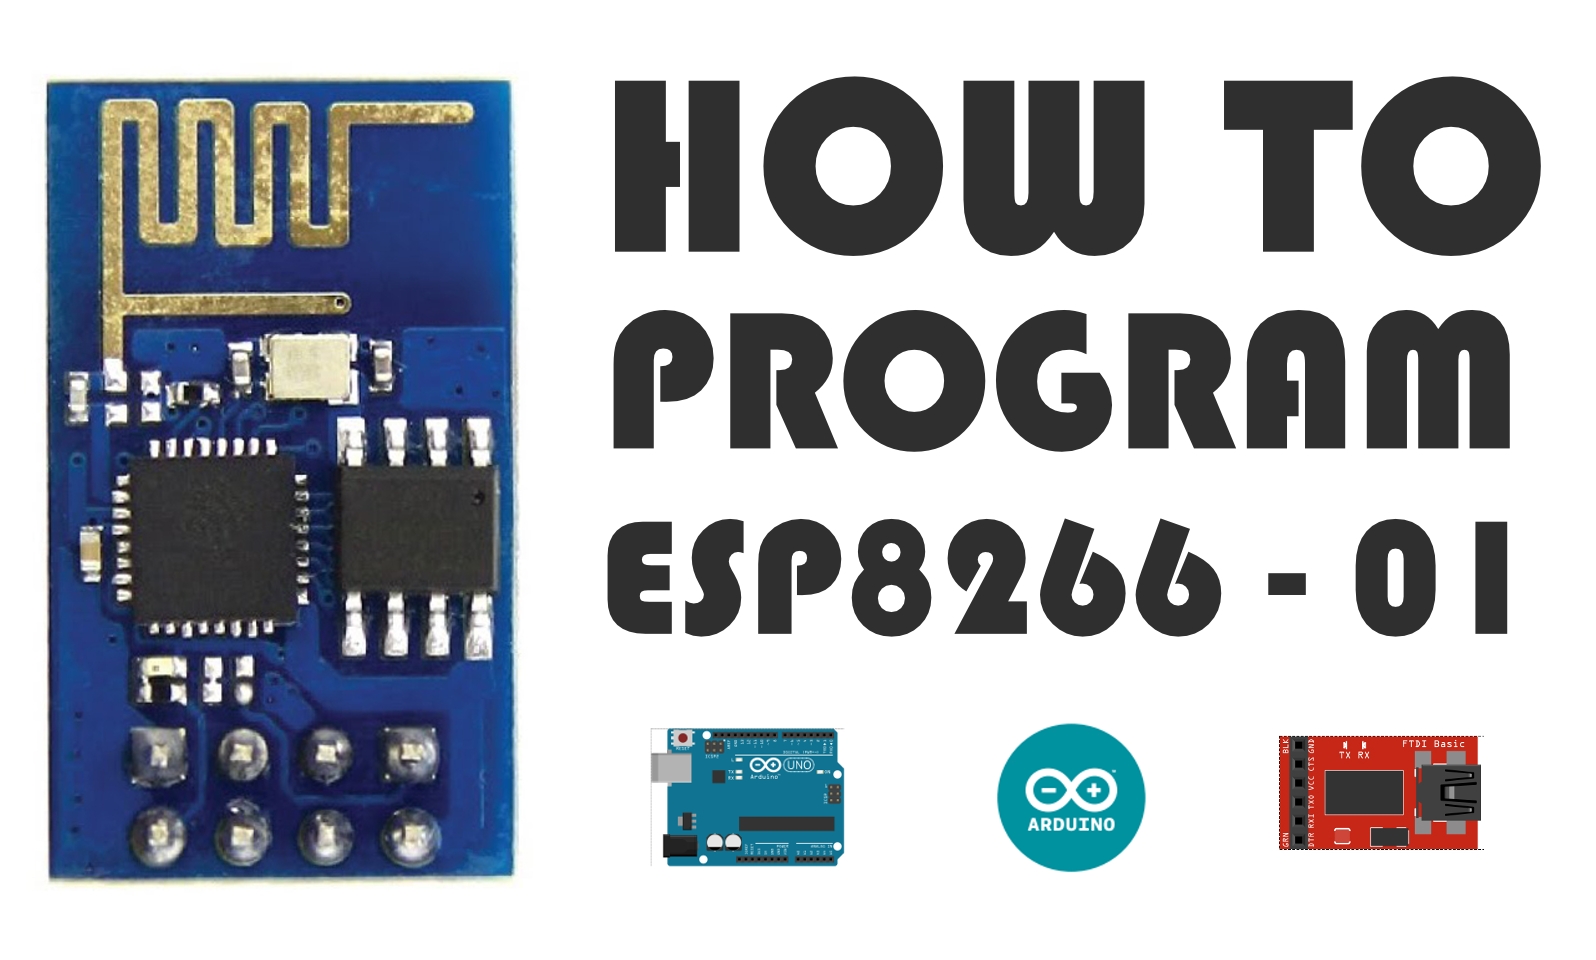
In this tutorial I am going to show how to program ESP8266 - 01 using Arduino board or using FTDI parallel to serial converter through few easy steps.

This is a collection of simple "how to use' tutorials of arduino modules. Let's see one by one.

3.3 volt power supply is one of the main issue when we use ESP8266 - 01 as a standalone board. The board runs in 3.3 voltage . More than this voltage, it may damage your board. In this tutorial I am going to show how to make a simple 3.3 volt regulator for your ESP8266 board. You can make this at a cost of 0.4$ (~20 rupees). There are also available some 3.3 volt power supply for purchase but there cost is more than this.

This is a simple, brief guide to use or test your Flame sensor with arduino for first time.
When the Flame sensor is dictates fire LED will glow.

This is a simple, brief guide to use or test your DHT11 temperature and humidity sensor with arduino for first time.
By using below sketch you can see the real time reading of DHT11 sensor in your aruino IDE serial monitor.

This is a simple, brief guide to use or test your PIR motion sensor with arduino for first time.
When the PIR sensor is detect a motion the LED will glow.


Let's make an all terrain remote controlled rover bot. This is a great starter project for hobbyists. In this tutorial I am showing how to make an all terrain robot using arduino with two mode of controlling, Using smartphone controlling and the other one is , using our own designed RF remote .it is more easy and flexible to use and also low cost. The total cost for making this robot is less than 60$.
Areas or fields of it's application(with the updated version 2.0)
- Disaster management.
- Spying agent for military purpose
- Rainwater drainage system cleaning robot
- Repairing of pipelines that human can't access
- In nuclear plant disasters

How much essential it is ,to make an efficient wireless remote controller for your projects like robots, RC cars, RC boats etc.. It is the remote controller which effects the whole performance. It is sure that a good remote controller can make your robot well functioning. In this post I am showing how to make a efficient, simple remote controller using an arduino and two joystick modules.

- The first wearable technology for blinds
- Using ultrasonic waves to detect the obstacles
- Notifying the user through vibrations/buzzer sound

- The first wearable technology for blinds
- Using ultrasonic waves to detect the obstacles
- Notifying the user through vibrations/buzzer sound
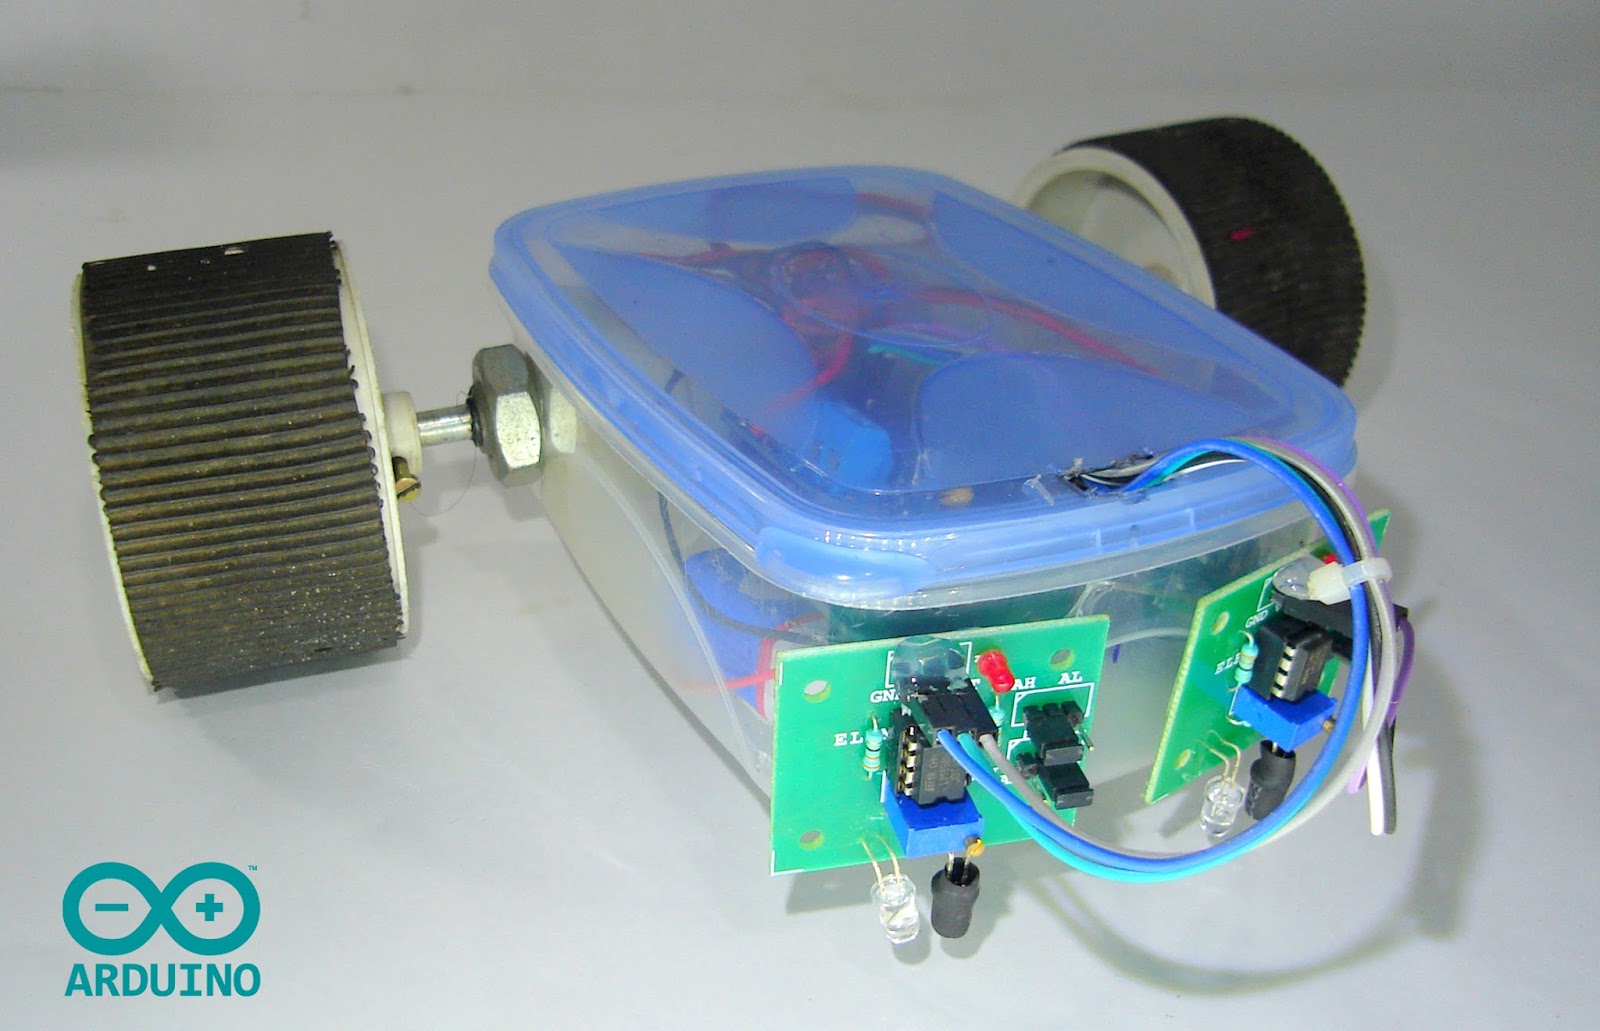
"A perfectly working line follower robot using arduino"
This is a simple tutorial to make a line follower robot using arduino. In this tutorial I am using the same robot platform of my previous tutorial "Make you first arduino robot". You can follow that tutorial to make the platform of this robot.

"Click here for FULL TUTORIAL & STEP BY STEP INSTRUCTION of the robot made using L293d adafruit motor shield"
Smartphone controlled , obstacle avoiding and wall follower robot.
Are you a beginner in arduino and have a plan to make your first robot then follow this tutorial.
Are you not yet used an arduino then-have a familiar of this by feeling it.
What about making your own robots. It's really cool thing?.But don't know where to start. Then this tutorial is (best) for you. In this tutorial I am going to show how to make an arduino robot with different functionalities in cheap price. We can learn the use of different programs for different functions, mainly a smart phone controlled robot with Obstacle avoid er, wall follower or maze solver robot etc or You can also make it for a single function.

Smartphone controlled , obstacle avoiding and wall follower robot.
Are you a beginner in arduino and have a plan to make your first robot then follow this tutorial.
Are you not yet used an arduino then-have a familiar of this by feeling it.
What about making your own robots. It's really cool thing?.But don't know where to start. Then this tutorial is (best) for you. In this tutorial I am going to show how to make an arduino robot with different functionalities in cheap price. We can learn the use of different programs for different functions, mainly a smart phone controlled robot with Obstacle avoid er, wall follower or maze solver robot etc or You can also make it for a single function.

Hello, Today I am showing how to make a cheap two wheeled arduino bluetooth robot, using PVC pipes and its joints(for making the body). It's simple to make and easy to program. It have a lot of fun to play with this robot. It is not only a common bluetooth robot but a robot having many functions and a unique (My own)design make it different from that of other arduino bluetooth robots. I made this robot not only for fun, also have a plan to add accelerometer and a camera to it and some other small sensors. Thus we can use this robot in various fields .This robot is only a basic design. My next plan to upgrade this robot to v2.0 when I purchase the mpu 6050.
Main uses/Possibilities -
- Disaster management -
This robot have a simple design and only have two wheels and in a cylindrical shape therefore it can travel to almost all terrains and through dangerous areas .
- Spying agent for military purpose -
This robot is look like a piece of PVC pipe there for no one can simply identify this is a robot since we can use this for taking images and fore collecting information as spying agent.
- Home surveillance robot
Pipe bot in action. Watch the video to understanding the controlling of the pipe bot using the bluetooth app.

Here I made a
simple low cost better quality music box only using 500rupees(8$).
All the items were purchased from locally.
Lets start making-


This is my first robot I made using some old toys part.
Won first price in Southern India Science Fair


Runner up @ Dr. Pradeep P Thevannoor Innovation Awards 2015


Asianet news-
Deepika news paper

Thejas newspaper

Deshabhimani newspaper

Mathrubhumi newspaper

Deepika news pepar


